 A few weeks ago I wrote about our Must-Haves for Reception Lighting so if you haven’t read that post yet, be sure to check that one out first. Today I’ll be introducing how we use those must-haves during wedding receptions. When we first started using off-camera lighting, it took us a bit of experimenting to figure out how we wanted to use lighting during receptions, but in the last few years we’ve really established our go-to setup and lighting style. If you’re new to off-camera lighting, don’t be intimidated. It’s definitely not the easiest thing to learn when you’re first starting out but you’ll find that it’s fun to play around with lighting and it gets easier as you practice more and more. Before I get into the details, this is probably a good time for a disclaimer. The goal of this post is to show you how we like to use our lighting for receptions, but it’s obviously not the only way to do it! The most important thing to remember is that you have to experiment in order to figure out *your* way of lighting your receptions. If this post helps even just one photographer give off-camera lighting a try then it’ll be worth writing it! Ok, let’s get to it!
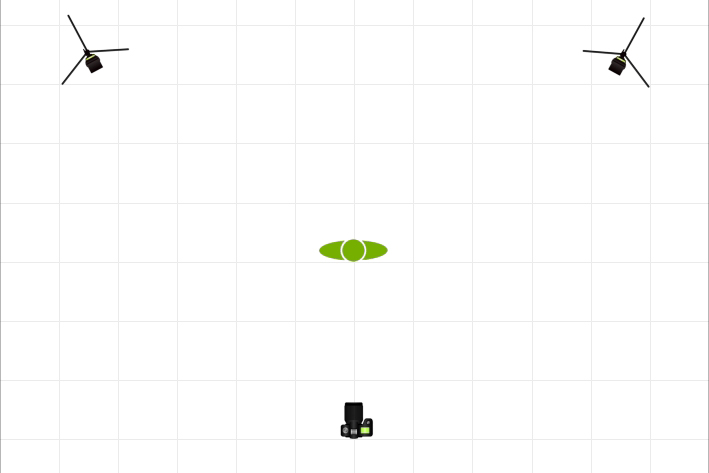
Below is a diagram of our setup. I shoot with an on-camera flash and two off-camera; Jay shoots with an on-camera and one off-camera. The diagram below shows you exactly how we set up our flash stands. One flash stand holds one flash (mine) and the other flash stand holds two flashes (one for me and one for Jay). I would recommend starting out with just one off-camera flash before beginning to experiment with two. Now, just because I have two flashes off-camera doesn’t mean I’m always using both. I use my on-camera flash to control all of my flashes, so I can turn one off using my on-camera flash. As for the position of the lights, we try to position them so that the light will hit our subject at a 45 degree angle from behind.
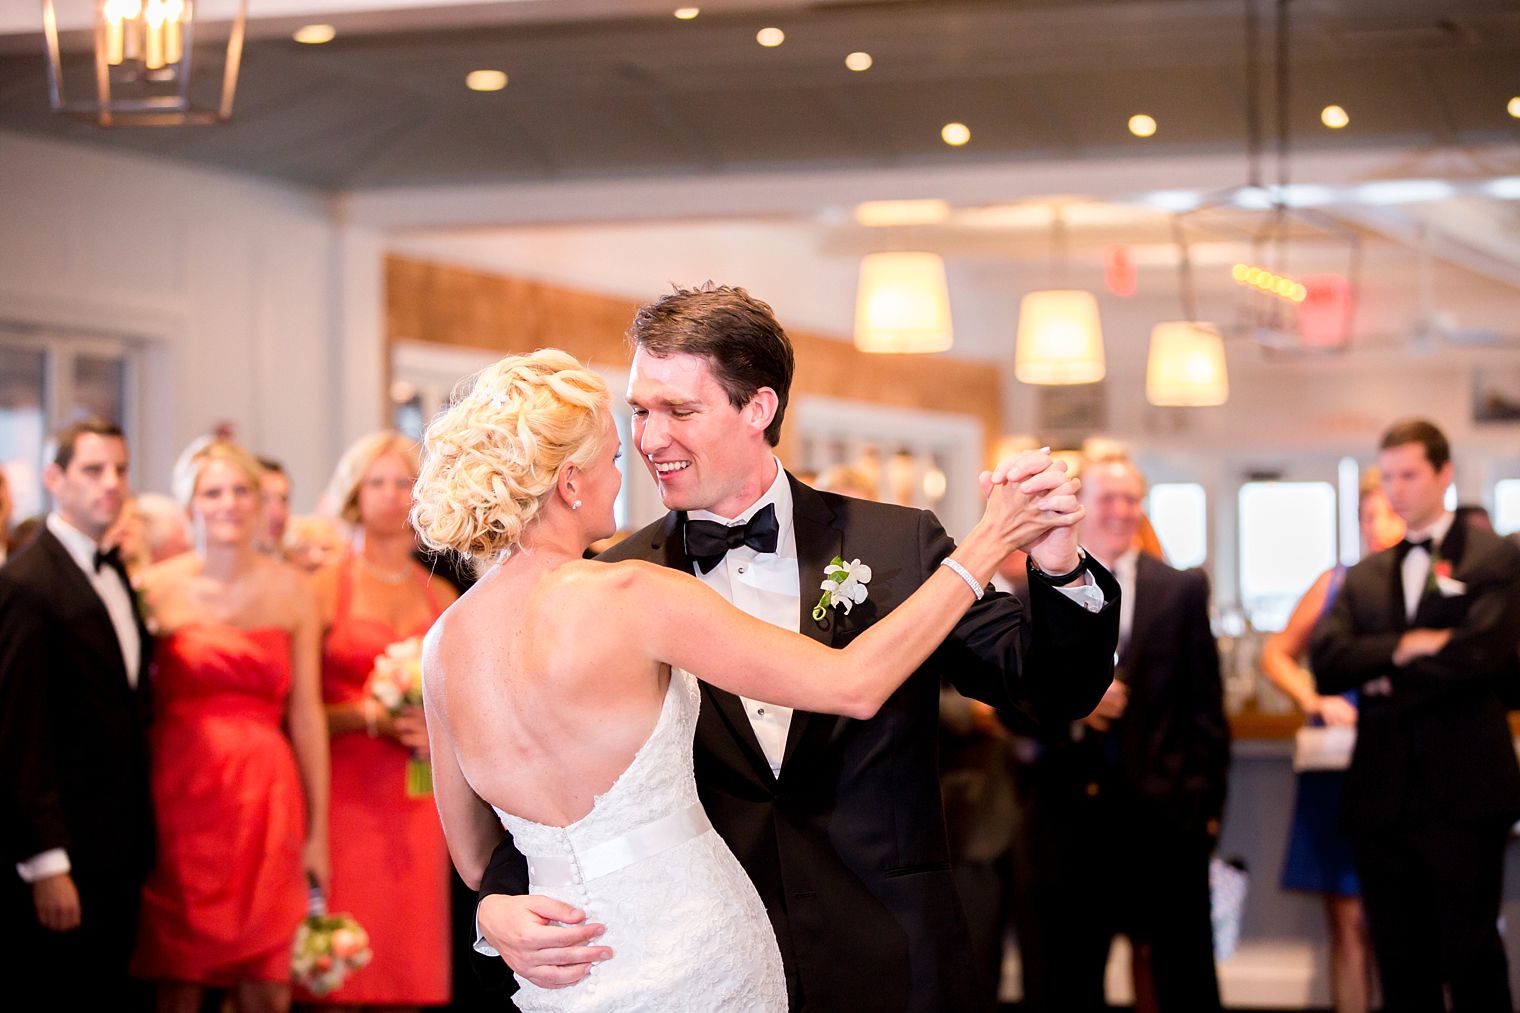
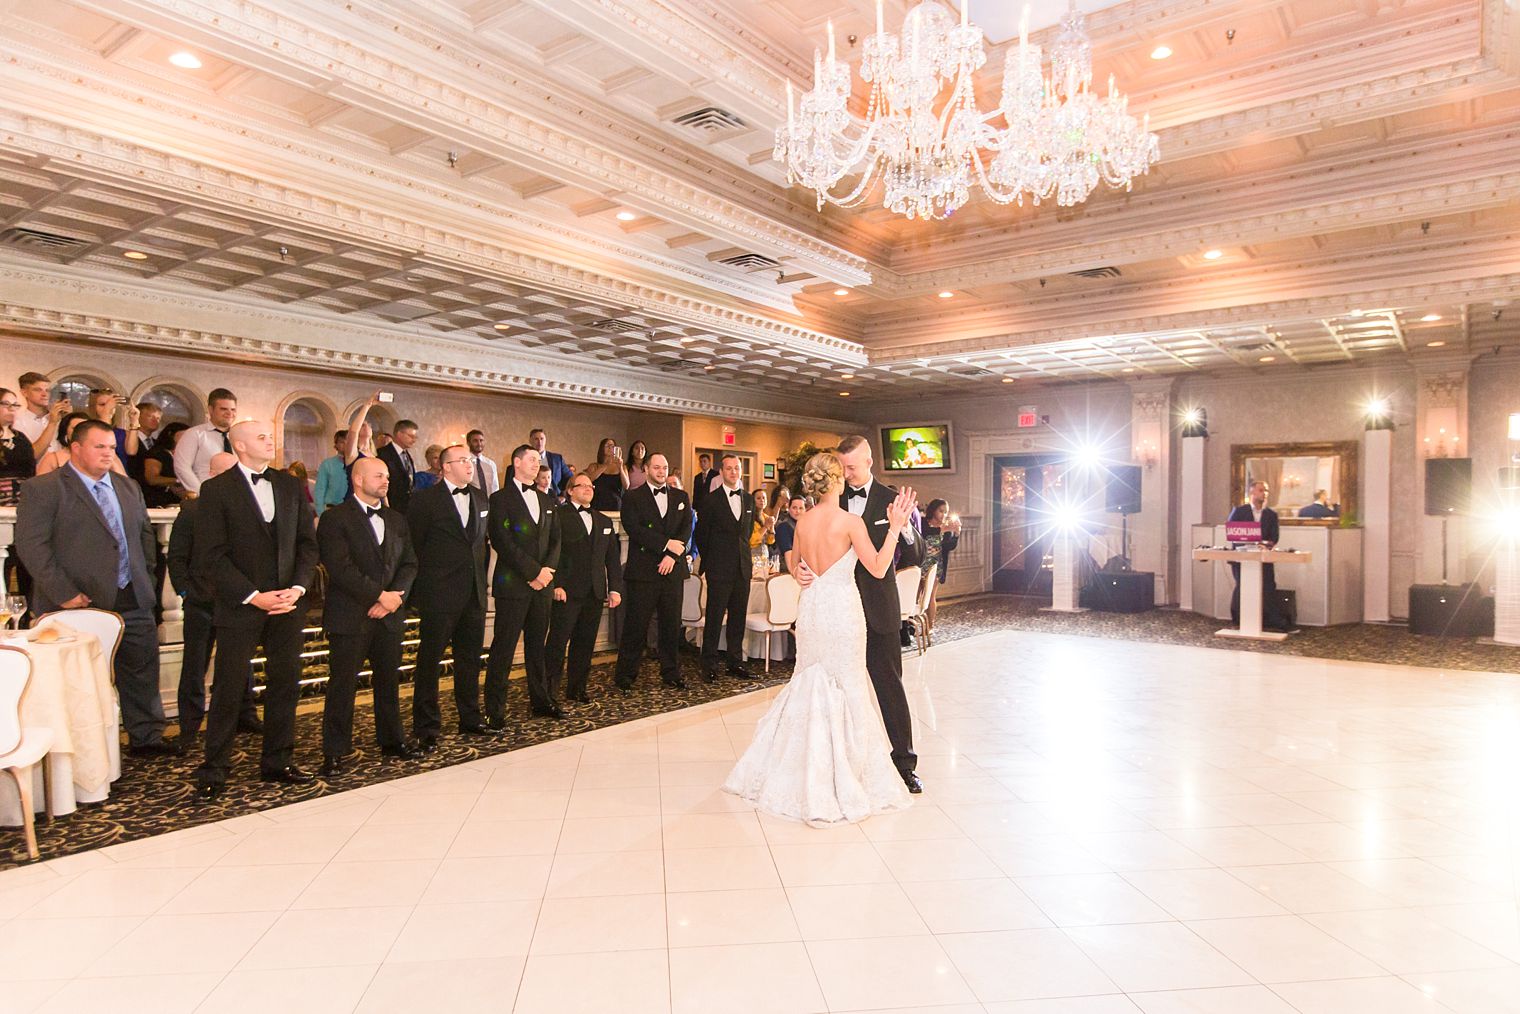
The first thing we do when we arrive at the reception is to decide where to place our lights. During Courtney and Ryan’s Park Savoy Wedding, we placed our flash stands at the far end of the dance floor. This way, during their first dance we would be shooting into the beautiful ballroom rather than have the DJ’s setup as our backdrop.

During the first dance we will move around the dance floor so that the light hits our subject from a 45 degree angle behind them, but we also love to fully backlight our subjects by placing the light behind them sometimes. At Courtney and Ryan’s reception there were also DJ lights set up that we could use to add backlighting, which we loved.
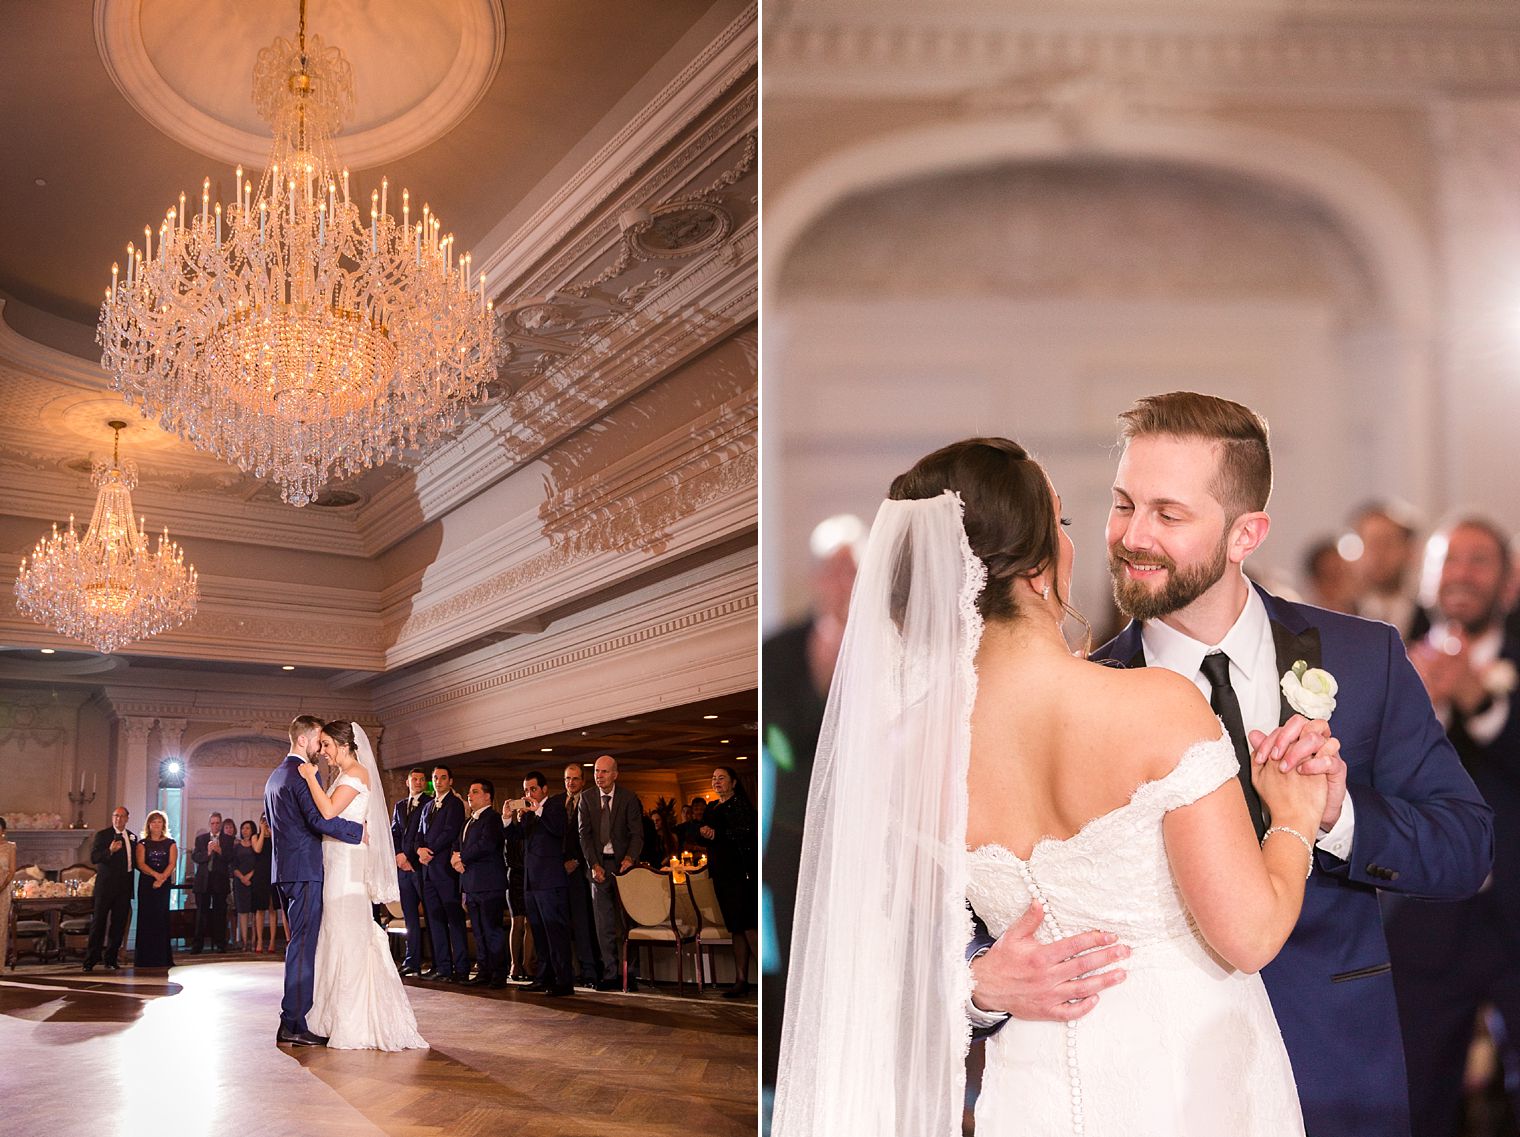
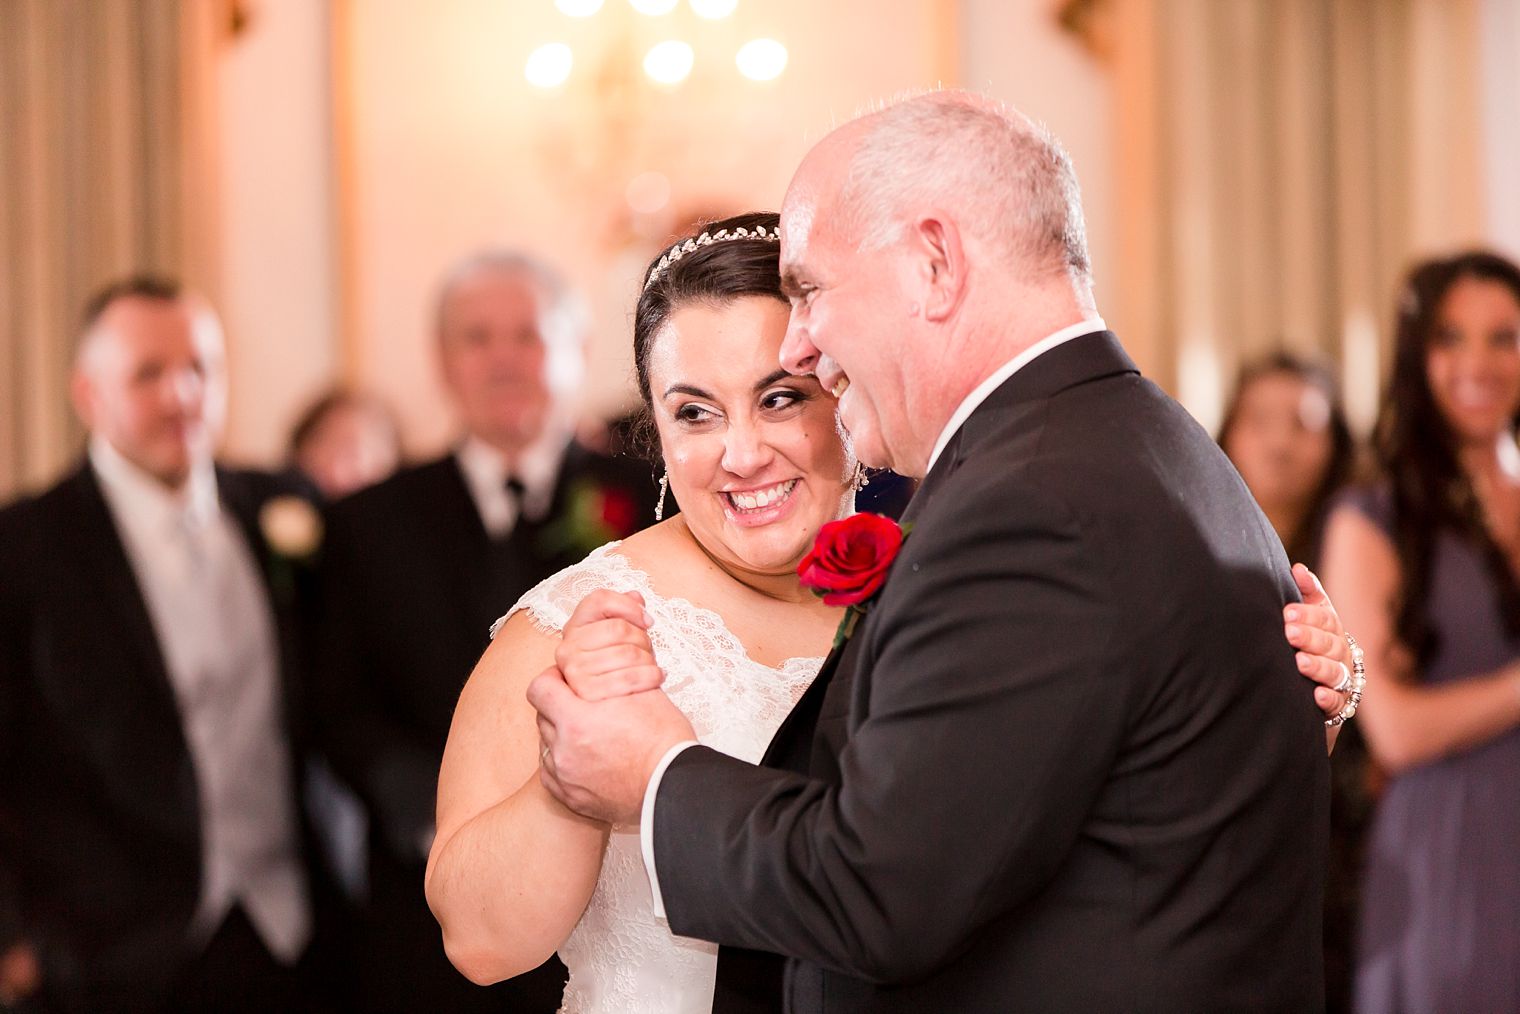
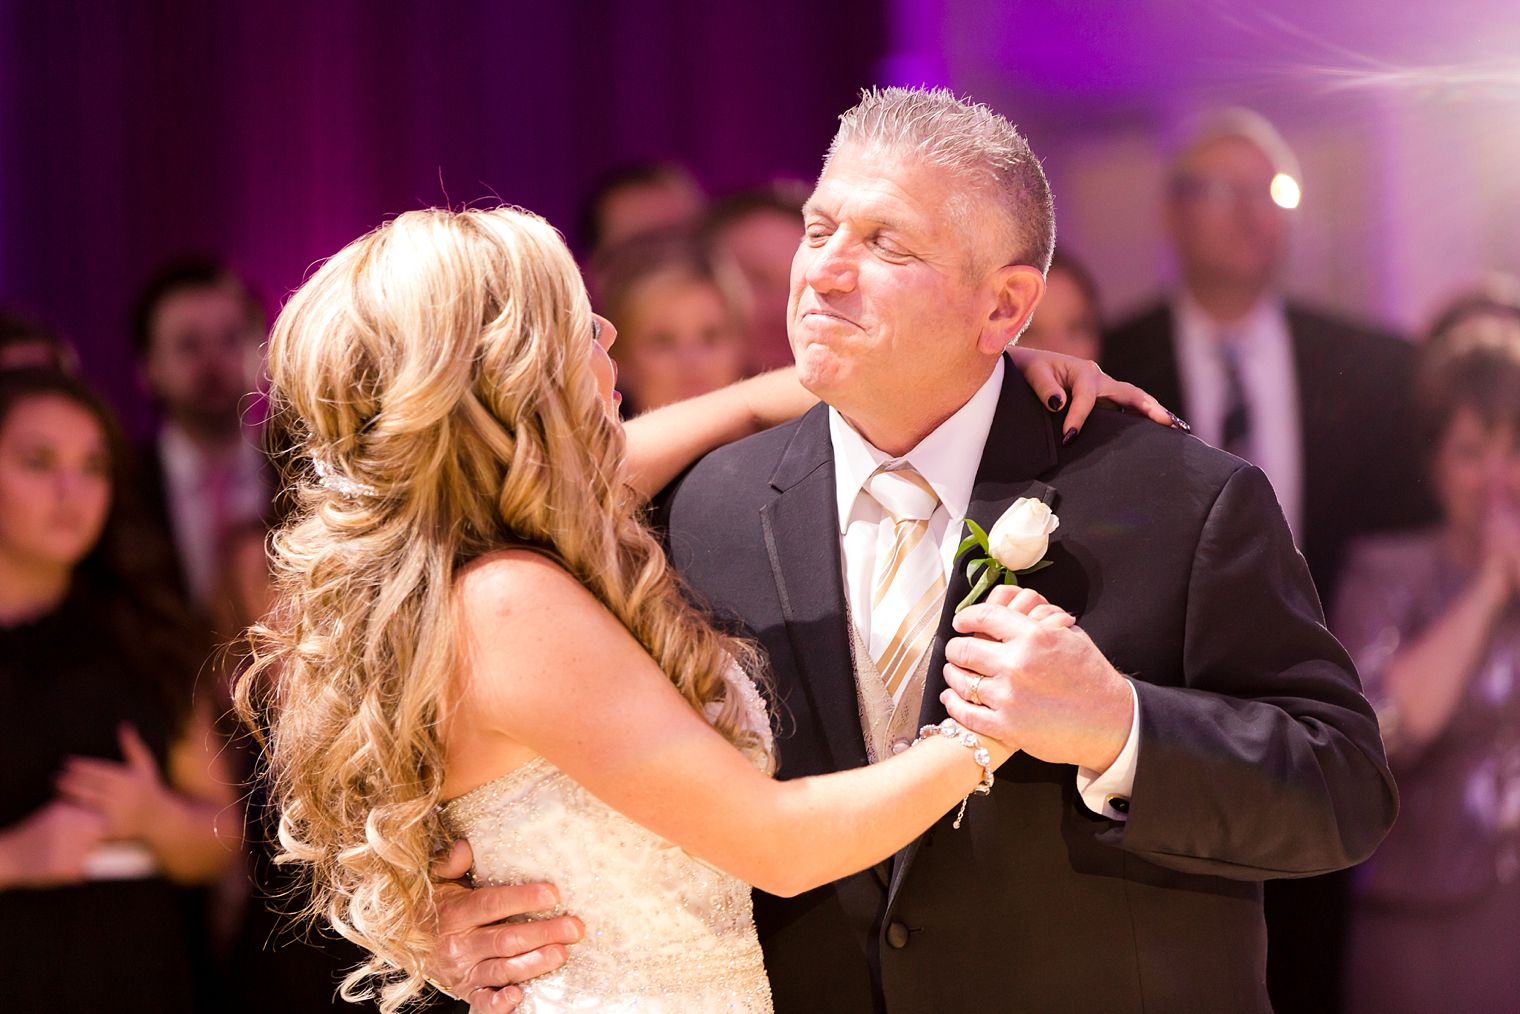
While Jay gets full body shots, I always shoot the first dance with my 70-200mm so that I can get close-up shots like the one below of Teresa and her father.
We love the style of our reception photos to match how we use natural light outdoors so this flash set-up works perfectly for us!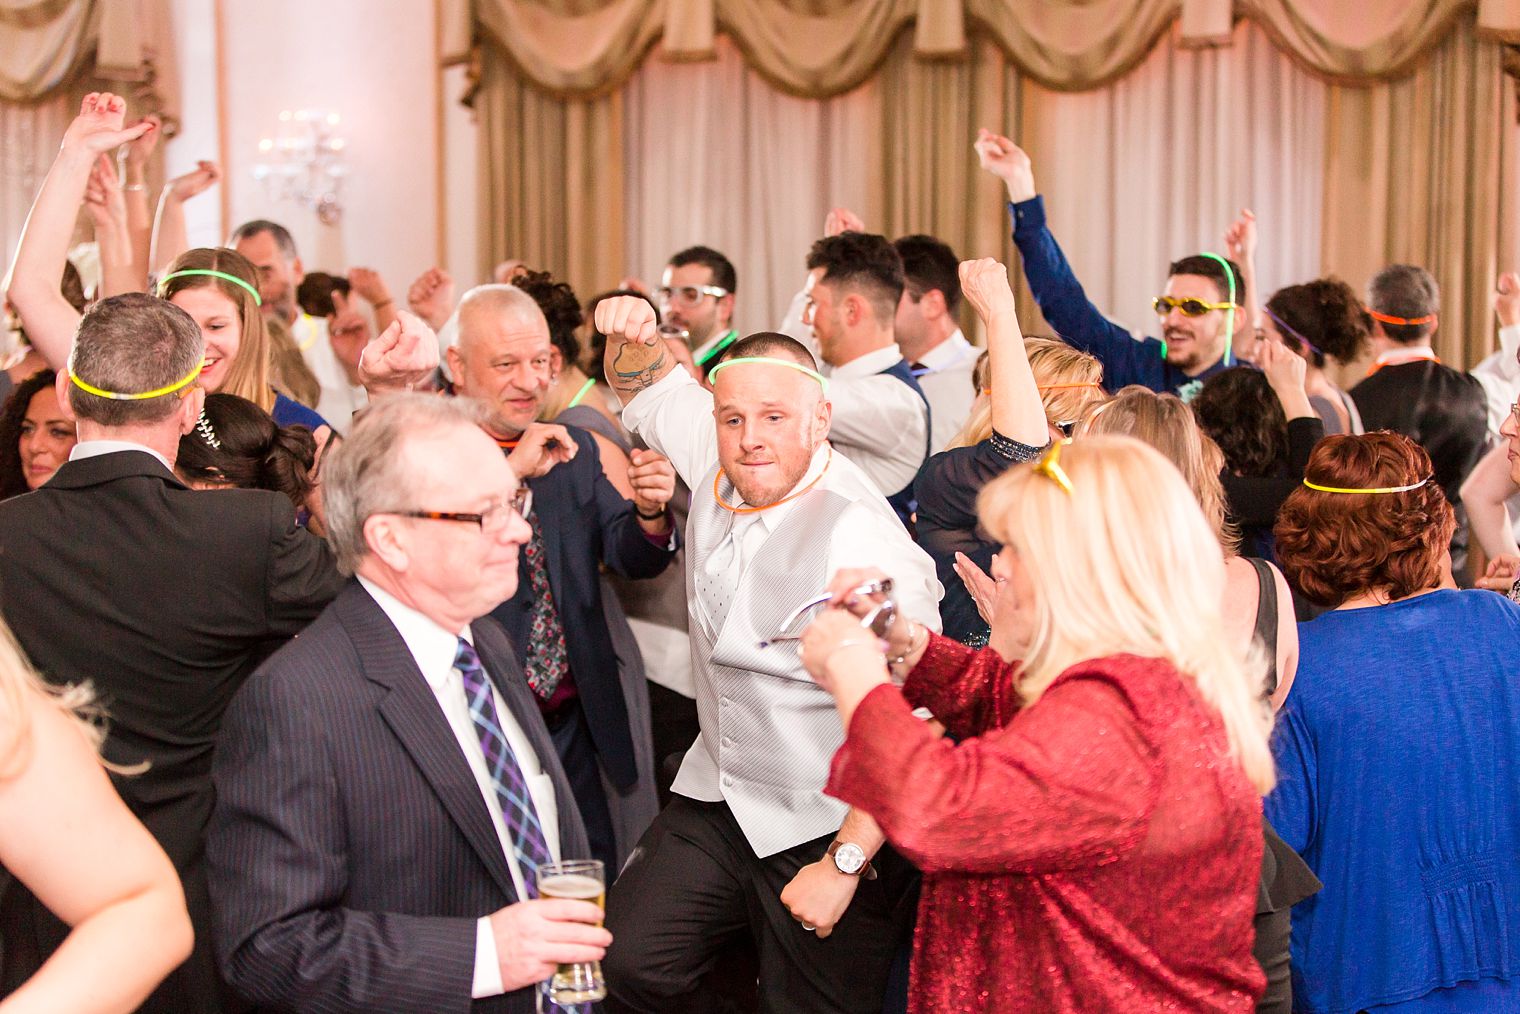
By having our off-camera lighting placed in the far corner of the room we’re able to light up the guests behind our couple so that it never looks like we’re shooting into a dark cave.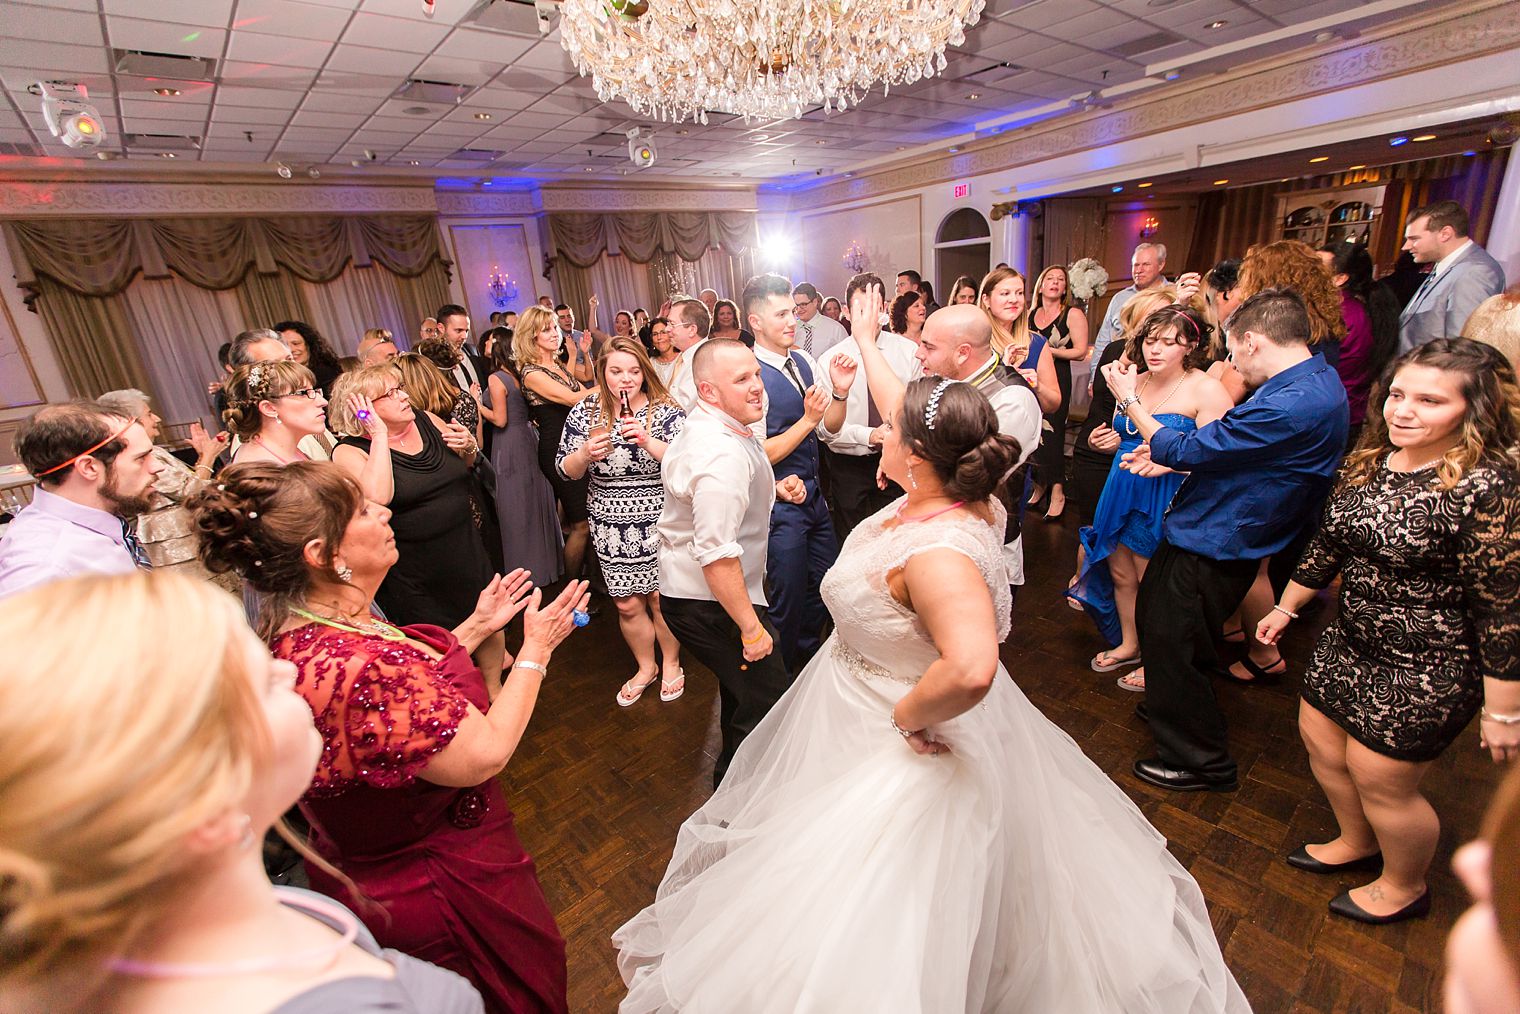
Here is another example of our setup:
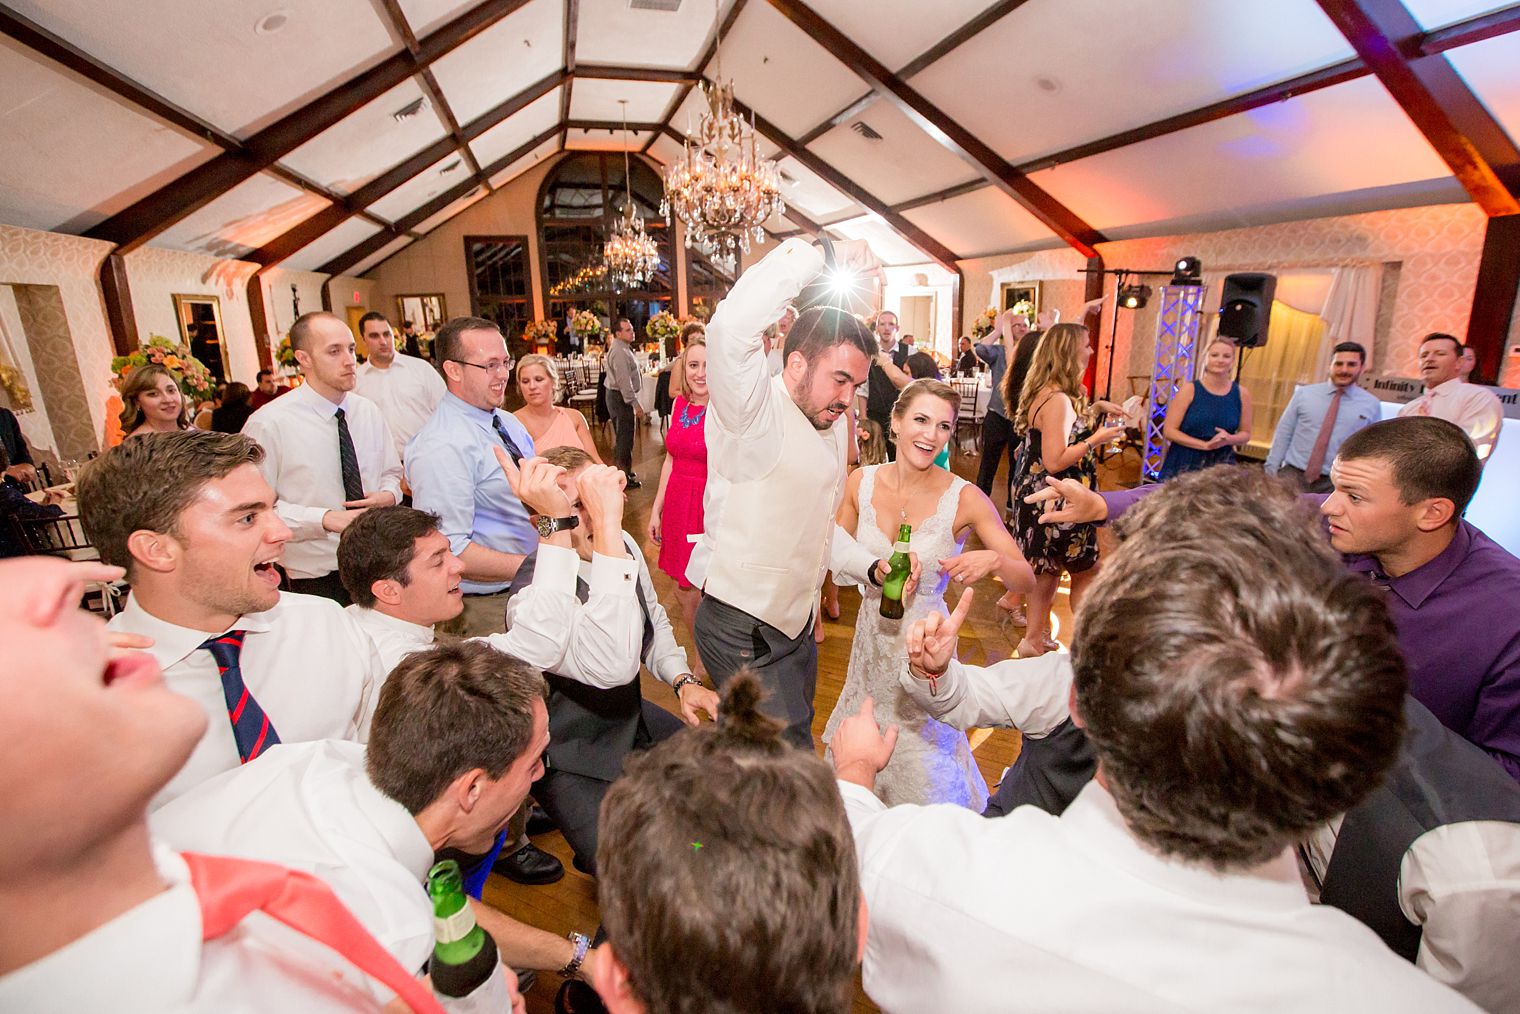
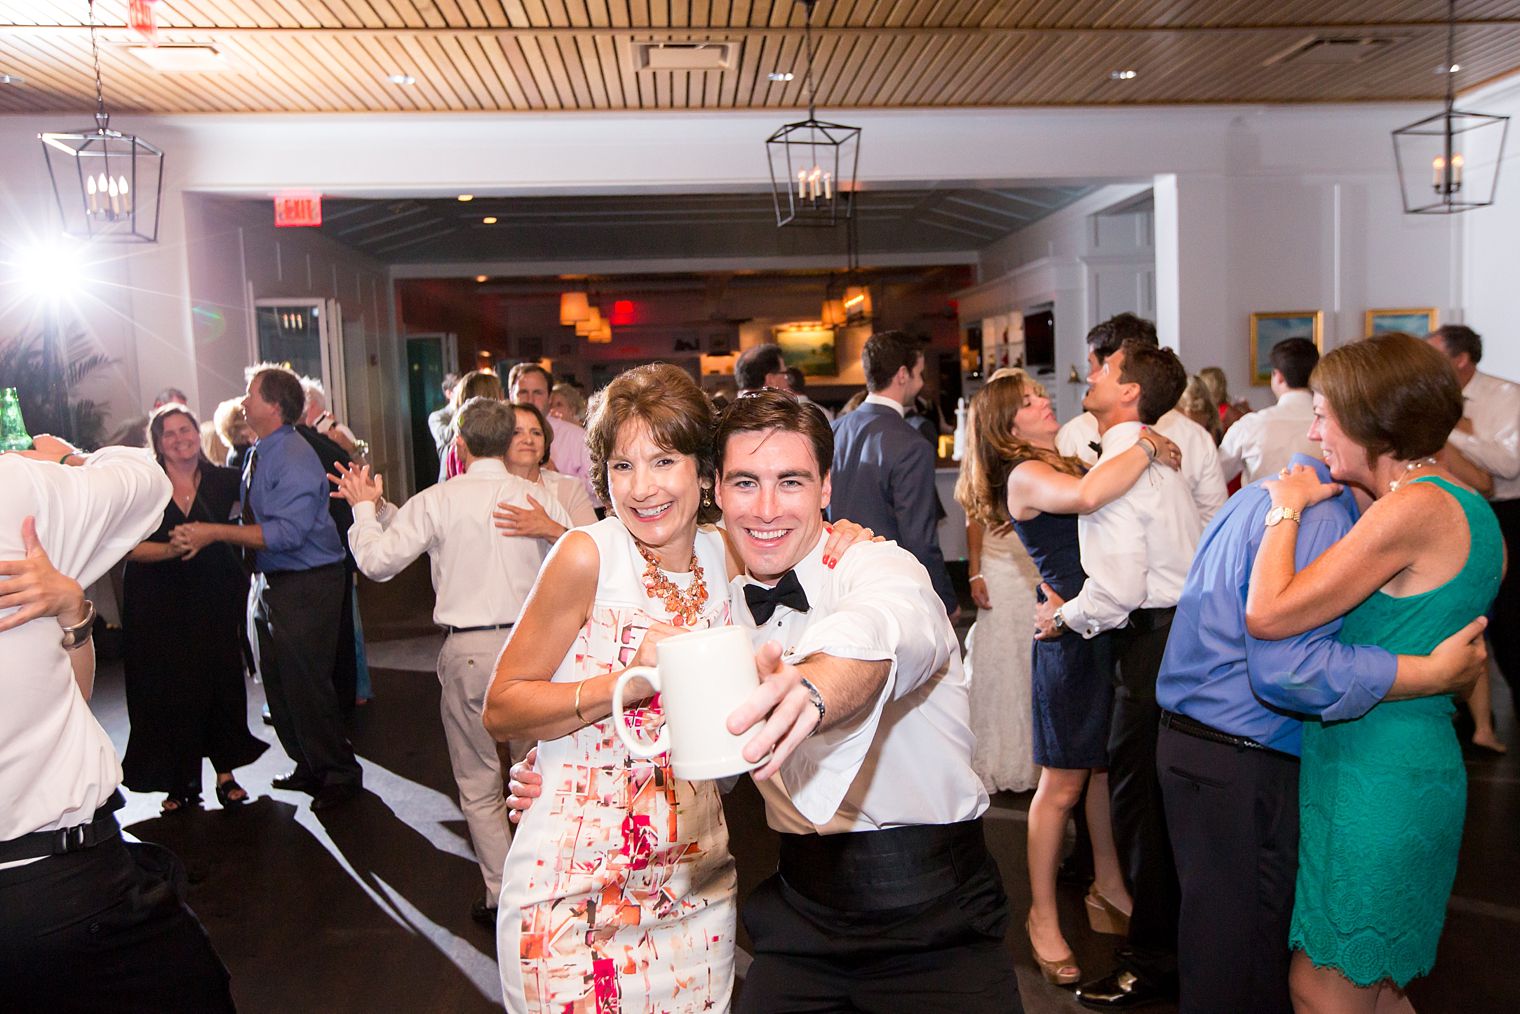
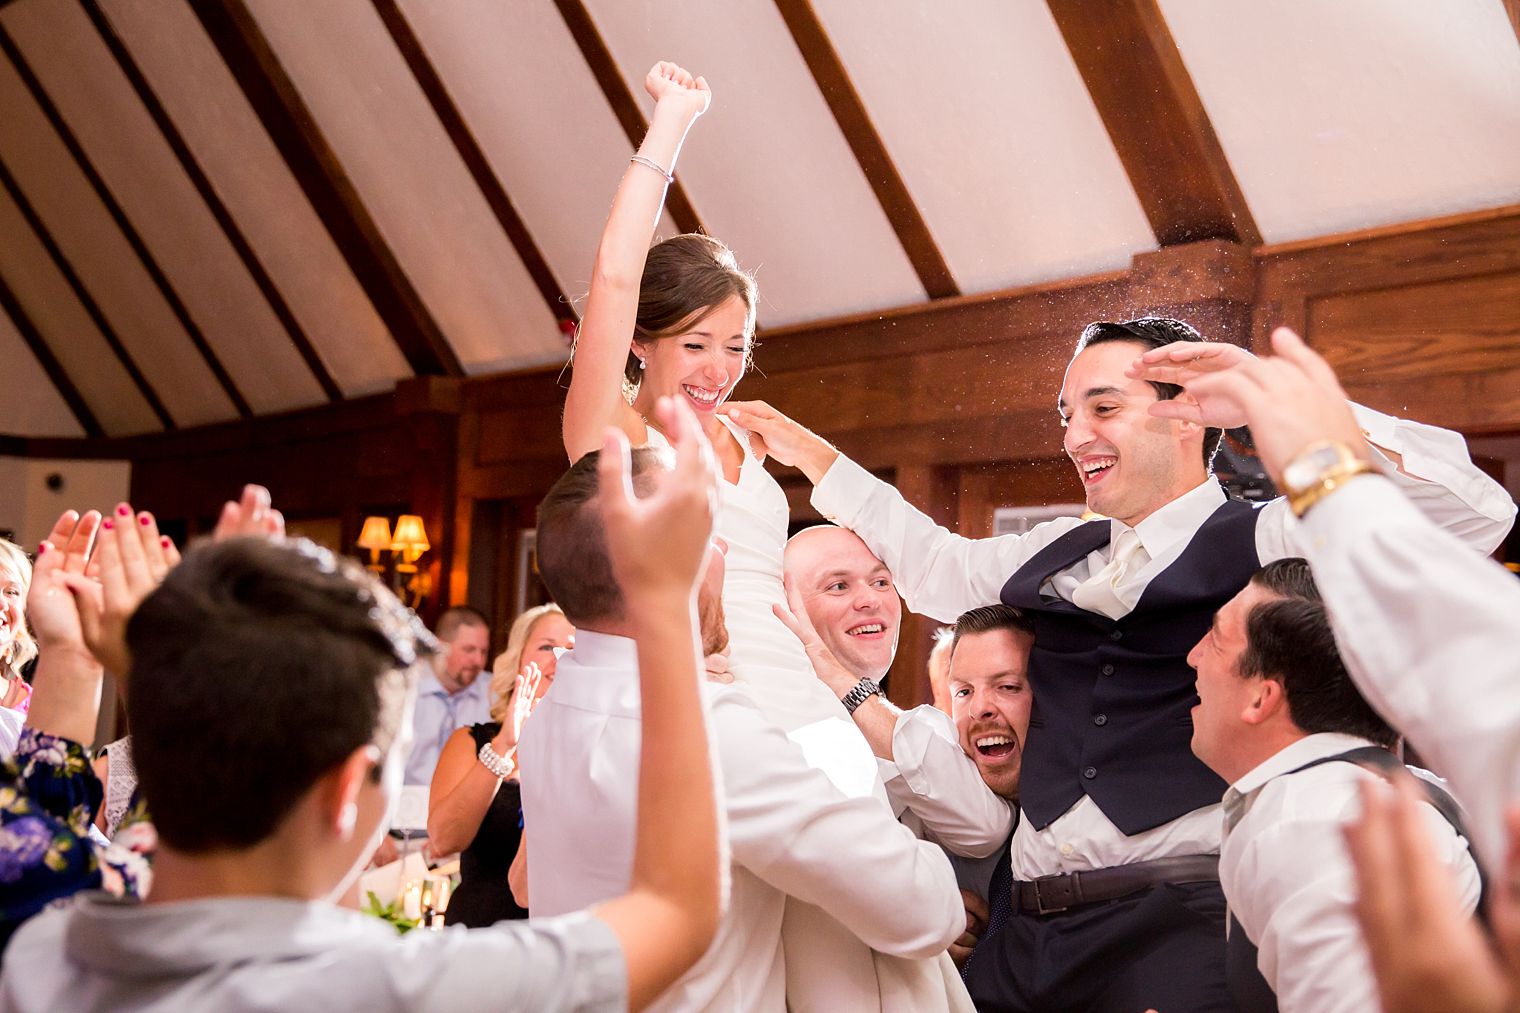
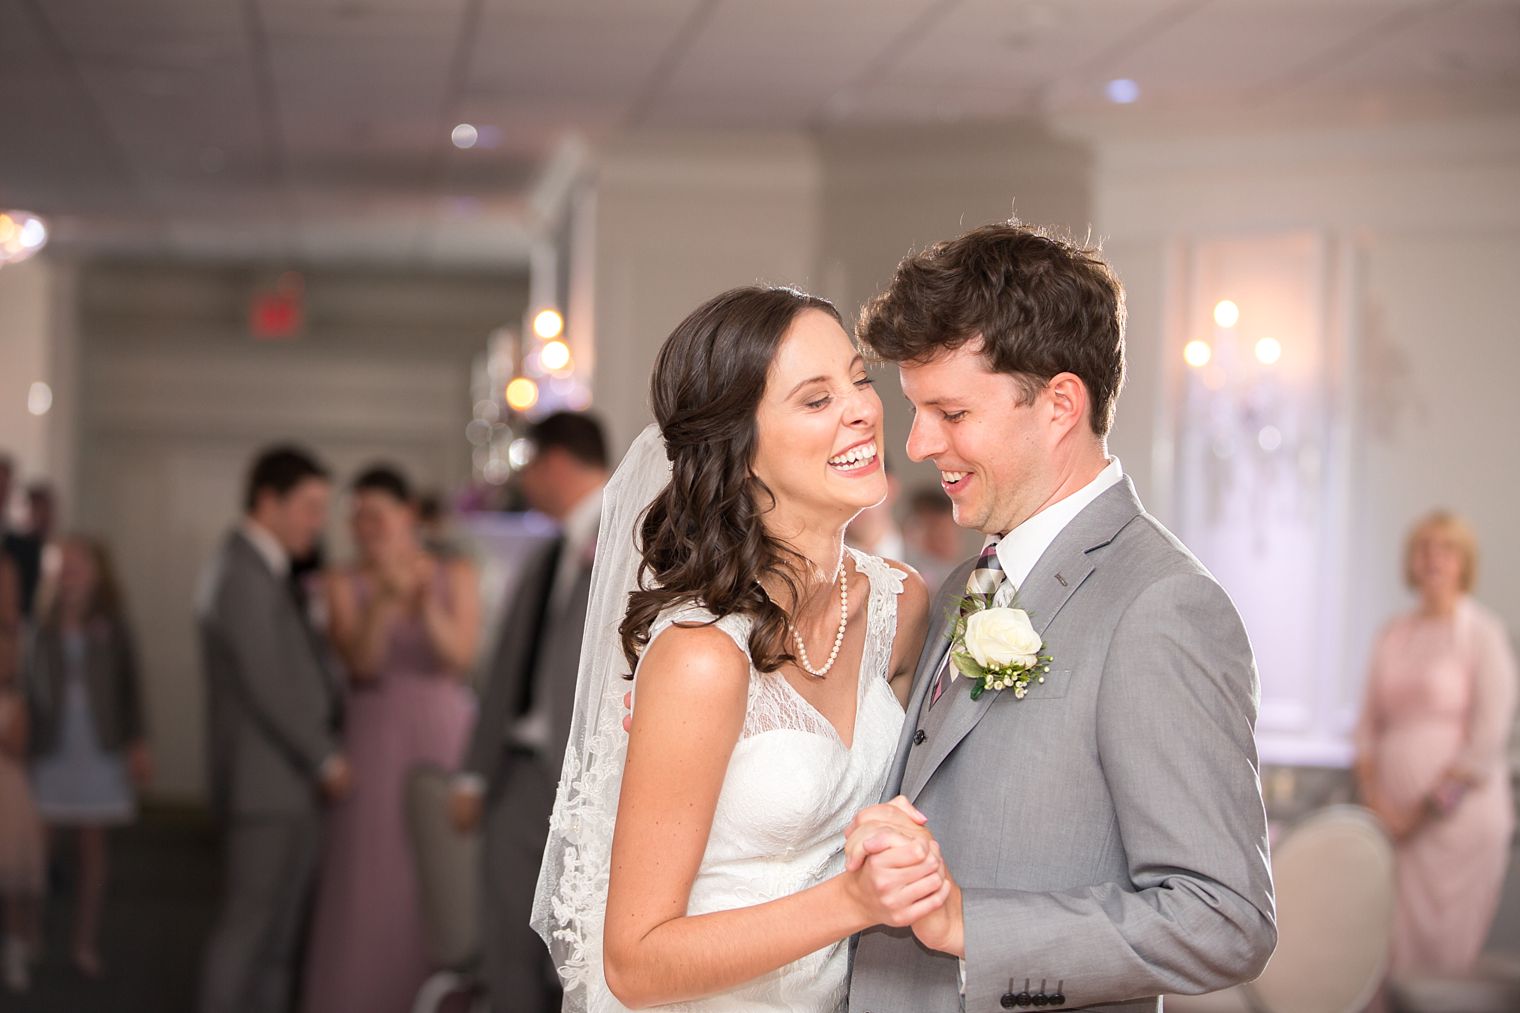
And some more examples of the types of images we’re able to achieve with our setup:
Off-camera lighting is something that requires lots and lots of practice, but it’s so rewarding when you can control the lighting to achieve the results you envision. I hope this post encourages you to give it a shot! In my next post for photographers I’ll be sharing information on our typical go-to settings and a tutorial on how we set up our flashes so that they all communicate with each other!
I hope this post is useful to you in your journey learning off-camera lighting! If you enjoyed this post be sure to check out our page FOR PHOTOGRAPHERS.